Categories
Categories
Brands
Brands
Hot Tub Supply Store Blog
How To Install A Waterfall In A 2002-2006 J-300 Collection Jacuzzi® Hot Tub
Posted by on
 One common question we get from people that buy the 6540-921
waterfall assembly is how to install it. Its really not the hardest task to
take on but it may take you 1-2 hours depending on your ability. This can be
done with the hot tub filled or empty just make sure with either that the spa
is powered down. Here are the steps for installing your new Jacuzzi waterfall:
1. Remove the back panel of your hot tubs cabinet. We normally recommend removing all of the screws except for the top center screw. Do that one last. The panel is a little heavy so be ready for it to fall fast. Once you have that panel off, don’t prop it up against the hot tub or against a wall otherwise the wind could blow it over and damage it. Always put your panel on a flat, level surface and face up so it doesn’t get scratched.
2. Your next step is going to be to remove roughly an 18” wide x 18” high section of foam directly underneath your waterfall. This foam is soft so no special tools are really needed. If you do decide to use something don’t use anything sharp as you could unintentionally cut something you shouldn’t be cutting. You can reuse the foam you are pulling out or you can spray in new foam. Entirely up to you and we will talk about that later.
3. Once you have exposed the ¾” vinyl tubing connected to your waterfall you will need a pair of pliers to compress the barb clamp and slide it down the tubing. If you are choosing to do this while the spa is filled, you will want to clamp off the vinyl tube with a locking pair of needle nose pliers. If you do this, put a towel between the pliers and tubing so you do not damage the tubing.
4. Next part can be a challenge. You need to pull the tubing off of the barb clamp attached to the waterfall. This can take some effort and in some cases heating up things with a heat gun or hairdryer will help. Just don’t burn anything.
5. Finally, there are two 1/4-20 x 1" hex bolts that will need to removed from underneath the spa’s shell that hold the waterfall in place. One those are done you can lift the waterfall off from above the spa shell.
6. Install will be reverse of removal except the 6540-921assly comes with a new ¾” barb fitting and an adapter. These two pieces will need to be glued together with PVC cement.
7. For the insulation, if you choose to reuse the old foam, you can just pack it all back into place. To hold it in, you can use a spray adhesive one of many available patching materials from any hardware store. You can also purchase new spray foam and respray if desired. Some spray foams will be harder to remove in the future compared to your original foam so this isn’t always ideal.
8. When putting your cabinet panel back on, start with the top center screw and reuse the old hole. This way everything lines up.

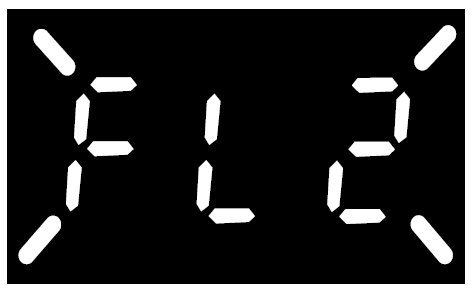
Troubleshooting An FL2 Error Code
An FL2 error code and FL1 error code are often confused for one another. While an FL1 error code means the spa isn’t sensing enough water flow to close the flow switch, the FL2 error code means exactly the opposite. So when you are troubleshooting an FL2 error code, we want to determine why the spa thinks the flow switch, [...]

Troubleshooting FL1 or Flashing FLO Error Codes For Spas With Circulation Pumps
The flow errors FL1 and FLO are the most common error codes we get calls about. As people read through their owners manual, it is easy for people to quickly come to the conclusion that the first thing they need to replace is their flow switch. While that may certainly be the case, it may also [...]
Why Should I change My ClearRay Bulb/
This is a question we get quite often. Some people have either not been properly informed of why this is necessary or what their ClearRay Bulb even does. Here are the little tidbits of information that will help you have a better understanding of how your ClearRay System works.The first thing to understand is that is [...]
 Loading... Please wait...